Introduction
The second edition of Sharp Practice gets the whole ‘revised edition’ thing right. I don’t want to dwell on the deficiencies of the first edition, which in fairness contained a lot of extremely good ideas, so I’ll just say that the second edition gives much more streamlined and more enjoyable play. The things that needed to be changed and improved have been, and there has been no tinkering for its own sake; some real thought has gone into the transformation process. I intend to be critical in this review so I will emphasise that this is the best set of musket-era skirmish wargames rules ever published and gives hugely enjoyable games.

The bite-sized version of this review is:
‘If you like wargaming in the musket era, buy these rules now.’
Stone Me! An Index!
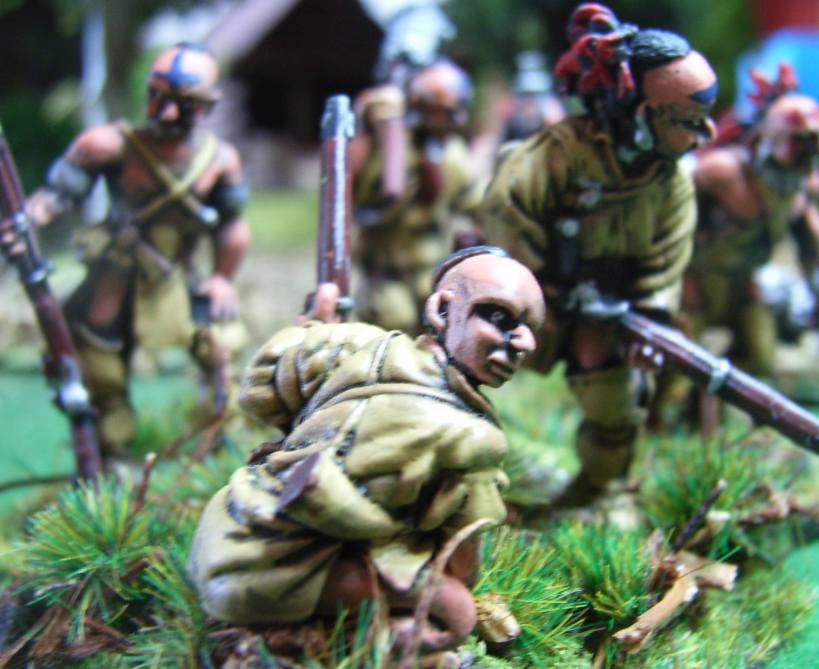
The book is available in both A4 softback and pdf (which is just bloody sense in this day and age), with a nice large typeface (important in the printed version, there is little worse than settling down in bed with a rule book only to find one’s aged eyes cannot read a small font on coloured paper), decent diagrams where they are required, and lots of nice pictures of miniatures, which obviously aren’t necessary but do add a lot to the aesthetics. And yes, mirabile dictu, there is an index.
There’s just over 60 pages of rules, which given the font size makes them pretty concise, plus ten pages to cover the six included scenarios, and around three dozen pages with basic army lists for the French and Indian Wars, the Peninsular War, the American War of Ingratitude, the Indian Mutiny and the American Civil War. These lists cover the periods that are of most interest to most wargamers of the musket era. As you’d expect from the TooFATLardies, free pdfs are becoming available to flesh out the Napoleonic era and to explore other conflicts. There’s also a free tool that lets you design your own unit entries, either because you want to tweak a rulebook list entry, some of which are in want of a wee tweak to be honest, or to create a completely fresh unit either for a new period, or to fill a gap.
The sheer volume of free game support already available is impressive. Just as impressive are the paid for supplements, which are only available in pdf (frankly just bloody sensible in this day and age), but are dirt cheap. The supplements that were produced for the first edition are still useful, they will just need a little work (very little work, really) to get them to fit with the new rules.
Base Needs
The game’s ground scale has 1” representing about four yards, giving muskets a long range of a hundred yards, and an ‘effective’ range of fifty yards, which is about right. That works for 28mm and 15mm miniatures. Freaks who like using models too small to see without the aid of powerful electron microscopes (10mm and smaller) will use centimetres in place of inches with no problems beyond actually locating their troops in the first place. You’ll want a 6’ by 4’ table as a minimum size if using 28mm or 15mm troops. I often use 6’ by 5’, with the extra space allowing a little more room for manoeuvre with 28mm figures. There are some differences between playing with 15mm and 28mm figures because the unit base sizes are smaller for the former, making the play-area relatively larger, which isn’t necessarily a problem per se, but is something to be aware of as it’s easier to create and manoeuvre bigger formations in 15mm than in 28mm.
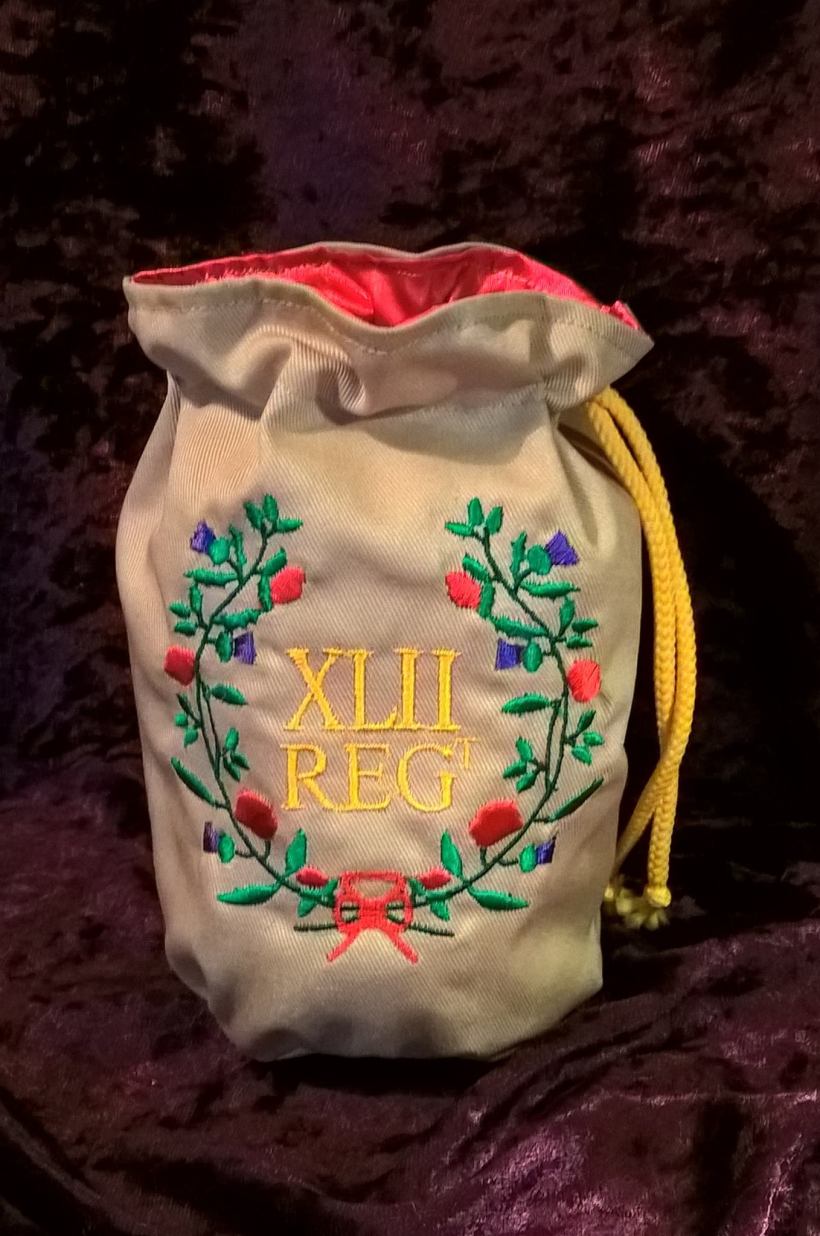
Play requires, in addition to the chips mentioned earlier, buckets of six-sided dice – about three dozen per player should be enough, although you can get by with about a dozen between you if Yorkshire tendencies limit the amount you are willing to spend on plastic cubes. You also need markers for ‘shock’ and to note certain things units are doing, or suffering from, like firing controlled volleys or being thirsty. A very important final thing is cotton wool to represent units which have fired and are unloaded. Cotton wool ‘smoke’ adds a lot to the aesthetic. You can buy plastic tokens and mdf chips (or get cards, if you must) from the Sharp Practice section of the TooFATLardies online shop, or you can get rather nice mdf markers from Charlie Foxtrot Models. I like to use custom-made Shock markers from Historique, who will put any image you care to give him on his nifty little dial-markers. Obviously, if you’re of the Yorkshire persuasion, you’ll likely be making your own markers, etc.
Realistically, the number of models required per side will be around 50-60, though actual numbers will vary. You could, for instance, run a pure Napoleonic British Rifles force of less than 30 men but might well need over 80 Frenchmen to face them. About 120 models in total will be enough to get two opposing forces on the table in most eras, unless you’re fielding absolutely masses of militia or similar rabble. You do need to make sure you have enough officer and NCO figures but 7 of these per side is easily enough.
So, if using 28mm figures and starting absolutely from scratch (but excluding terrain costs), you’ll spend £40 on rules and tokens (get this bundle), about £75 on figures (if using metals) and maybe a few more quid on cotton wool, etc. Say £125. If you go full-Yorkshire then you could get away with just the pdf rules and a couple of boxes of plastic figures, which you’ll likely get cheap from Ebay; local sheep would provide free wool in place of cotton. Less than £50 would likely see you right. All joking apart, the rules and necessary impedimenta are very good value, and the forces required small enough that most wargamers will be able to field a decent force as fast as their painting speed allows for less cash than required by many similar games.
I base 28mm figures on one pence pieces (naturally taking great care to disfigure the queen’s head). It’s cheap and most penny pieces are magnetic, which helps with storage. I use sabot bases from Supreme Littleness Designs.
Leadership and Character
The focus of the game is on two things: command and control (which you expect from the TooFATLardies) and ‘characters’. The former is central to the actual gameplay, the latter is what lifts the game beyond merely ‘very good indeed’ to something really quite exceptional.
Command and control is driven by a chip draw (or a card draw if you like, but drawing tokens from a bag is much more exciting than turning cards from a deck. And Saddle-Goose Designs will do you a lovely bag to draw your chips from for a pittance. You could, I suppose, draw cards from such a bag, but cards are for sharps and chips for Sharp Practice in my view).
Every leader gets a token, each side gets four (usually) ‘command’ tokens and there’s an ‘end of turn’ (tiffin) token too. Lots of games now use this kind of mechanic and for the good reason that it’s great at producing uncertainty. The leader chips let you activate leaders, who can then activate units, the command chips let you trigger unit abilities, enhance leadership or activate units. The Sharp Practice implementation of this chip-draw system is probably the best random activation mechanic there’s been, combining the uncertainty necessary to generate tension and good gameplay challenges, and generally avoiding the bad kind of frustration that a less well conceived random system can sometimes create.
The crux of the game is trying to master the use of command chips – how and when to use them to best advantage. Although one will tend to get better with practise, there will always be times when the random draw undoes your plans. This is not a game for those who wish absolute control, it’s a game for those who want to cope with ‘friction’, or ‘fog of war’ or whatever you want to call it. Although the game styles itself as a ‘heroic representation’, it pays more than lip service to practical issues of 18th and 19th century command.

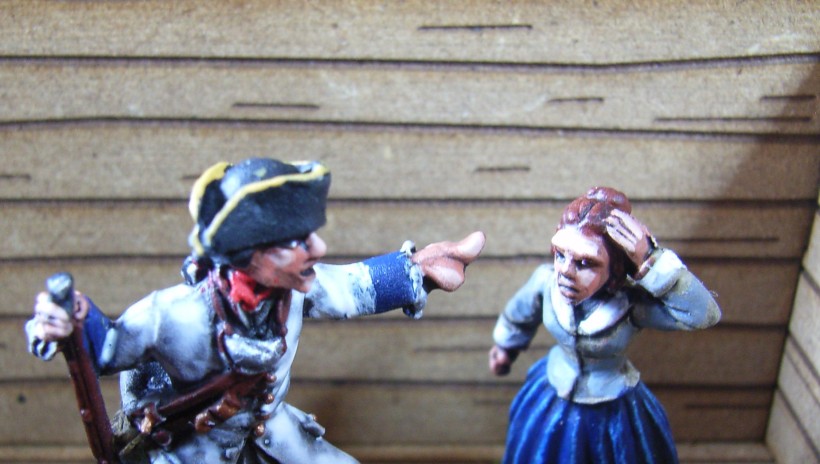
Your leaders are the other driving force in the game and they, and the occasional other character who may be encountered, give the game its . . . well . . . character. Seven pages of the rules are devoted to characters, which is fair amount when you consider melee gets five pages, morale three, shooting gets ten, and movement eight. Now what’s interesting to me is that the actual ‘character generation system’ is pretty trite and frankly a bit crap and over-random. It’s the sort of thing you’d have found in a rather poor 1980s roleplaying game or tucked somewhere at the back of a Tony Bath ancients wargame campaigns hardback. The idea is great, it’s presented well, and is designed to get some humour into the game in a fitting way. But the supplied format doesn’t work for me at all. So I ignore it and let my officers and NCOs form their characters through the way the games unfold. What’s great though is that the mechanics of the game actually seem to somehow promote that developing of character so the player will tend to begin to make decisions for his commanders ‘in character’, which is what this section of the rules is really all about. Sharp Practice 2 is partly, perhaps even mainly, a roleplaying game in disguise, and one which succeeds because of its wargaming mechanics rather than its roleplaying ones. There are some good ideas in this section and lots of inspiration but almost anyone with much roleplaying experience will want to change how this section works. As I say, despite the manifest shortcomings of the ‘character generation system’, the game is lifted very much by the way leaders are presumed to have their own personalities and desires.

Gentlemen, the Regiment!
The basic unit in the game is the Group. There are three sorts of infantry Groups: Line Troops, Skirmish Troops and Mass Troops and each is further divided by Quality. Overall force morale benefits or is penalised if you have a preponderance of better or worse troops. Units get a ‘roster’ of characteristics and abilities that define how they may operate and how command cards might be used to enhance their capabilities.
You can see from the photograph below that a unit roster will tell you its type, size, points cost, armament and abilities. The numbers for Crashing Volley, Step Out and Drill tell you how many command chips must be played to trigger that ability. Characteristics, like Sharp Practice, sometimes need command cards to trigger them but are often automatic.

Line Troops come as Elite, Regulars, Conscripts & Volunteers and Militia. They are in groups of 8 figures, except for no really solid-seeming reason Militia who come in 10s. Personally I field Militia in groups of 8 too as 10s can make them feel rather too resilient. Some die-hard Lardy fans think 10s for Militia are absolutely fine, I think they are wrong. Decide for yourself. Line Troops are designed to stand in line and fire or to get together in columns and charge.

Skirmish Troops come in 6s. There are three types: Light Infantry, Skirmishers and Irregular Skirmishers. One unfortunate consequence of having Skirmishers as a category of Skirmish Troops is that new players sometimes get confused by the two terms. The Lardies, in fairness, are scrupulous in their use of each term throughout the rules, but it is worth being aware that the potential for confusion exists. Skirmish Troops snipe and harass the enemy, tend to move quickly and are generally useful.

Mass Troops come in 12s. Again, there are three types: Clan, Tribe and Wallahs. These represent rather undisciplined or uncivilised types eager to get to close quarters. An unfortunate consequence of their size is that quite often they’re rather better at shooting than you might expect. It’s worth keeping an eye on their effectiveness and perhaps giving them a rule like Mixed Weapons that halves the numbers of models who may fire.
The odd quirk apart this system works really well and rewards the player for using troops in a historical way – exactly what you want from a historical game.
Some Groups can form Formations. Formations are more resilient and more dangerous to one’s opponent than individual Groups. They provide a certain ease of control but that comes at the expense of manoeuvrability. It’s a nice trade-off.
Cavalry come in 8s and there are several different types including Scouting Cavalry, Impact Cavalry and Dragoons (these last can dismount as Skirmish Troops). Cavalry have restrictions on their movement depending on their speed. New players seem to find cavalry not as effective as they might expect. Some of this is just down to misuse or not having enough but it is slightly unsettling how often Skirmish Troops charged by cavalry can hold their own. This isn’t the end of the world (especially for me as I don’t bother with cavalry in the French and Indian War) but it is an area that might be worth revisiting at some point.
Artillery is the last sort of unit covered by the rules. Like cavalry, their rules generally seem to work fairly well but it jars to me how effective roundshot seems against Skirmish Troops. Again, not a huge issue but something I would like to see reconsidered going forwards (however, again, I don’t really use guns more than once in a blue moon in my French and Indian War games).
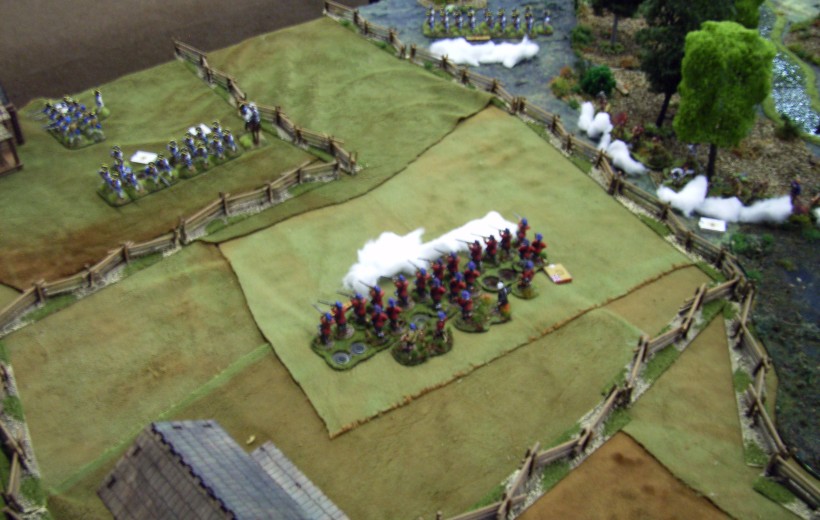
Getting to grips with the differences between how Groups and Formations work is important. While the rules are clear, they’re also necessarily quite intricate and it’s well worth putting models down on the table to really help visualise how hits from a formation firing might be distributed amongst enemy Groups and so forth.
In addition to the above Groups, your force can choose Supports, which include things like musicians, marksmen, pioneers, fortifications, supply carts and so on. Some of these are generally useful, others are mission-specific and so you’ll only take them when they’ll be useful in the scenario you’re playing.

Advance, Fire and Charge!
Deployment is done from Deployment Points. Seldom do your Units begin on the table, they tend to deploy with a leader within a specified distance of your Deployment Point(s). Slow troops don’t get to deploy very far on, fast troops can deploy a hell of a way up the table. It’s a great system to avoid the tedious use of ‘blinds’ and yet still allow units to spring surprises on the enemy by emerging from an unexpected quarter. It’s clever, and knowing where and when (especially when) best to deploy will require cleverness. The other great thing with Deployment Points is they can provide an extra aesthetic to the game.

Movement is random. Lots of people hate this concept but it works very well. You are allowed to pre-measure any distance (which is just bloody sense), so having random moving reintroduces the uncertainty that pre-measuring removed. There are various ways to enhance the movement of units (usually by use of command cards), and although almost everyone seems to initially think that a basic d6 move is rubbish, it’s quite surprising how quickly troops can end up moving across the table with proper leadership and control.
Firing is fairly straightforward and involves the standard ‘roll to hit’, ‘roll to damage’ mechanic. Successful damage may either see a man removed as a casualty or Shock being accumulated by the Unit. A quirk is that cover reduces not the chance to hit but the chance to damage. This seems strange, but it’s sensible when you remember that a hit is just a ball somewhere in the near vicinity of the target. The system works well and is easy to remember after a couple of games. The hardest things to get to grips with are really the differences between how Formations and Groups may fire and how hits are allocated when they may be split between several Groups. Again, a few games will see this becoming second nature.

Fisticuffs (melee) is pretty lethal, on the whole. It’s worth being aware that in general having an advantage sees you inflict more casualties on your enemy, not receiving fewer yourself. It is unwise to charge a target that has not first been discomfited by fire, which is very historic. However a consequence is that you will probably take more casualties as part of a successful assault than you might have expected without experience of the system. It is another area of the rules that might be worth a mild tweak at some point. Perhaps.
The Horror! The Horror!
Shock is part of the morale system and tends to accumulate quite quickly when you’re fired upon, reducing your movement, firepower and melee proficiency. Great mechanic that works really well, and knowing when and how to manage Shock is something that you’ll want to pick up fairly quickly. Shock and casualties degrade the performance of your Units. When Shock starts creeping up towards equalling the total men remaining in a Group, you’re in trouble. When it exceeds the number you’re in very bad trouble and Bad Things will Happen
Bad Things Happen is the other part of the morale system. Groups that recoil or rout or are eliminated, leaders who rout or are killed or wounded may well cost you one or more points from your overall force morale (usually beginning around 10 points or so). Once your force morale falls to 4 and below, your force is in bad shape and you begin to lose Command chips from your supply, which will hamper you a lot. Force morale falling to zero is the signal for close of play, humiliation and disgrace. Simple and works well.

What Are We Doing Here?
The six scenarios that come in the rules are well thought out, straightforward to get your head round and fun to play. It’s easy to make minor adjustments to provide a bit of variety and once you know the thinking behind them, easy enough to create your own. The Missions (where you have to do something specific) are more interesting than the Battles (where you just need to beat the enemy) but the three Battles do give solid games.
Because of the character-driven nature of the game, campaigns are going to give an even more satisfying experience than stand-alone games (which can nonetheless be magnificent entertainment). The Lardies have already produced Dawns and Departures, a supplement to aid campaign play, which I will review shortly (‘it’s worth it, buy it’ is the short version . . .)
End It Now!
Sharp Practice 2 is a game that’s going to be a wee bit harder to pick up and play than a lot of the other games that use a similar number of figures. I don’t agree that they are necessarily ‘intuitive’ rules as the introduction to the rules claims. However the mechanics are such that, after a few games, most will become ‘automatic’. Initially, the various interactions of Groups and Formations seems confusing, but once understood they are quick and easy. This seems generally true throughout the rules – after you’ve looked something up during play a few times, you seldom need to again. There are few areas that are so ambiguous that they cannot be resolved by using common sense as applied to the rest of the rules and the period in question. This is refreshingly different from many other rules, which can have ambiguities that are much harder to reconcile sensibly.
I really like the fact that courtesy and making sure that your opponent’s experience of the game is a pleasant one is emphasised.
I love these rules.

Thanks for this review it is very helpful, I have just purchased Musket & Tomahawks rules to play FIW games
I was looking at the Sharp Practice rules for French Revolutionary Games, but wonder if I should just try and use M&T for those as well
I would really appreciate your view on this as I am new to the “Skirmish” format
Hope you can help
LikeLike
Either will work, though of course you’d need to create your own lists for both (although I think TFL have Austrian and French lists for the revolutionary war on their website in the downloads section.
I find SP far more dramatic than M&T (which I like but find more ‘fiddly’)
LikeLike